Once the Information Gathering initial site investigation & Taking the Brief is developed, a Moodboard is developed for your space at the same time as the Sketch Plan is created. This Moodboard sets the aesthetic & tone for your design; it is a visual translation of the verbal Brief you give us.
The Moodboard may feel a bit of an unnecessary step, however it is a tool that has some important roles. It’s a non-negotiable part of the design process. It does the following:
- It is a visual translation of the verbal Brief
- We curate any inspiration images you may have gathered & given to us during the Briefing stage. We won’t just include all the images, but be selective & maybe even crop out unnecessary areas.
- It is a tool to set the Visual Language of the project before spending time & resources during the Concept Design stage
- The Moodboard is a visual document that we refer to during the Concept Design process to ensure that any design elements & selections are in keeping with the Materials and Visual Language already decided upon for your project.
- It is a document that can be used to communicate the overall look and feel of the project (in conjunction with the Sketch Plan) to the Project Manager & Builder during the very early stages of your project.
At this stage, images may (but not always) include suggestions of furnishings & feature wall treatments (ie wallpaper, wallpanelling, etc) & key finishes to indicate level of quality & the design direction.
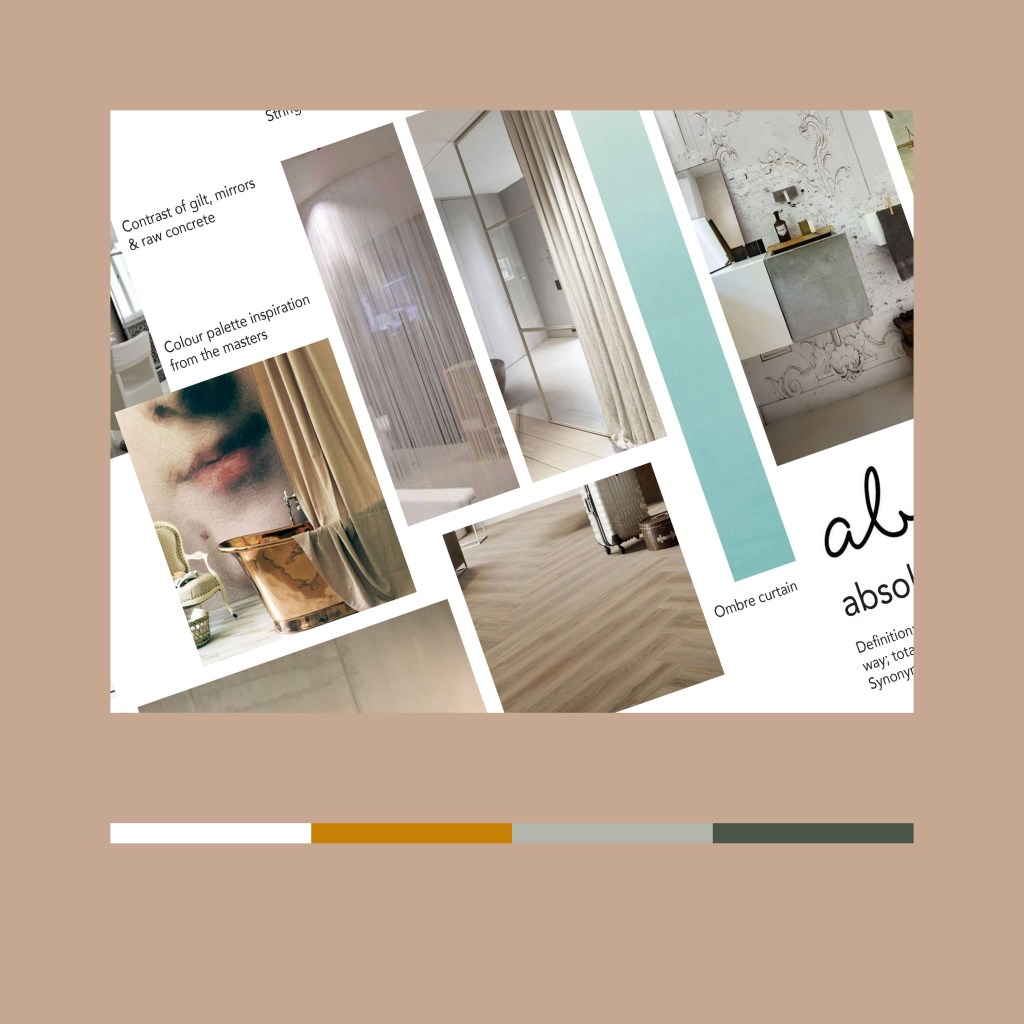
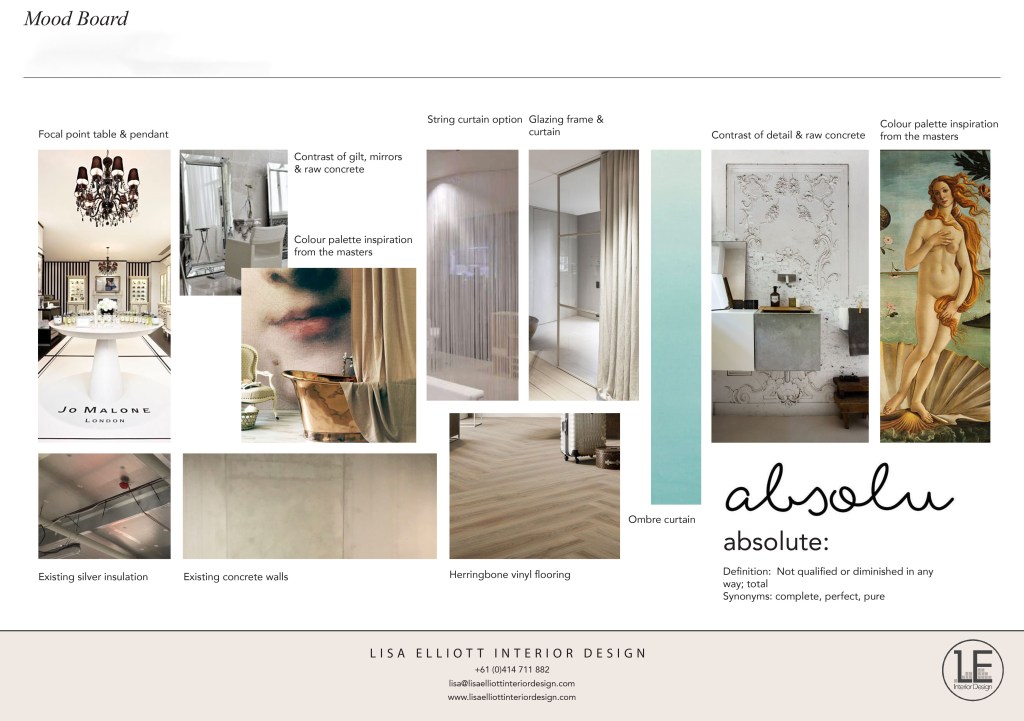
The Moodboard below explores ideas of incorporating the existing concrete walls & exposed services with a classic interior: herringbone timber look vinyl flooring, wallpaper, curtaining ideas for the wash basin area & lighting with a wow-factor. It gives a glimpse of the final project to make sure we’re all on the same page before moving forward into Concept Design.
Any estimates that may have been done by your Project Manager & Builder during earlier stages would not have allowed as they only have the sketch plan to work from. In our experience, they generally allow for entry-level (read low-budget here) fittings and fixtures at Sketch Plan stage.
If you want a particular level or quality finishes, furniture & fixtures, these need to be determined & communicated to the team; in the Brief & Moodboard, we communicate the look & feel, and types of finishes to your Project Manager & Builder.
During the Concept Design phase more detail is developed in the design to get closer to a more accurate estimate.
Our standard project timeline below illustrates where the Moodboard fits into your overall project.
Information Gathering: Initial Site Investigation, taking the Brief & Sketch Planning & the Moodboard
Investment estimate (by Your Project Manager & Builder)
Concept Design, schematic illustrations & sketches, FF&E Preliminaries & Joinery Preliminaries
Update Investment estimate (by your Project Manager & Builder)
Detail Design & Documentation, drafting plans & elevations for permits, detail design of Joinery, scheduling of FF&E, coordinate with consultants
Permit Application (by your Project Manager
Construction Documentation, Tender stage RFI’s, revisions to documentation in preparation for construction
Tender (by your Project Manager)
Construction Stage Design Services, Site meeting & inspections, site instructions & responding to RFI’s, materials approvals, Shop drawing review, Defects Inspection & report, As Built documentation, Handover attendance.
As Builts
Related Case Study: Absolu Hair Salon
Why is the design process broken down into stages?
The design process is divided into stages intentionally to ensure we get from that first meeting & brief-taking step to your sign-off of full construction documentation while ensuring that the design evolves along the Design Process path to meet your expectations, whilst also taking your level of investment into consideration. It’s a strategic step-by-step formula that delves into what you want & need, and each stage along the path from sketch plan to moodboard to finally interpreting it into an overall design.
Lisa is a very dedicated professional with a keen eye for fine detail and accurate documentation. I have worked with Lisa on more than 10 airport lounges and I can highly recommend her work. Lisa is also good a reviewing and coordinating services drawings.
D. Johnson
(please pin the below graphic to your pinterest board for reference)

(please pin the below graphic to your pinterest board for reference)
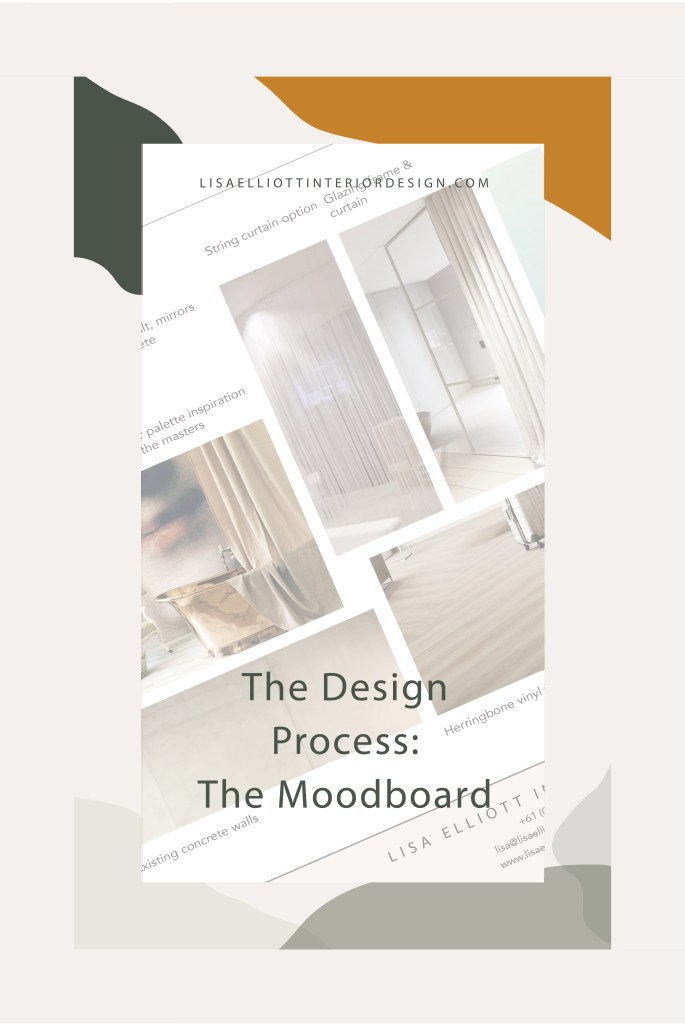
(please pin the below graphic to your pinterest board for reference)

So, why Hire an Interior Designer?
Unfortunately many people get confused or intimidated by the idea of hiring a professional Interior Designer for their project, and might be concerned about the process of working with a designer & the costs of doing so.
A lot of people I meet feel that they can hire a builder and do the design themselves, selecting materials and fixtures in dribs and drabs, often at the last minute (leading to less choice) with poor planning & lack of an overall vision. This will lead increased costs due to changes, additions and variations that the builder will not have allowed for.
You will save money & time. Your designer will plan functional and appealing spaces, provide drawings, visualisations & material / furnishing selections in a strategic manner so you can get competitive quotes, and you know what the design will look like & cost right from the start.
You require a Qualified Interior Designer & Registered Building Practitioner for any commercial project or residential project that requires a building permit; a proper interior designer is a highly trained & experienced registered professional, not just someone with ‘a good eye for colour’ and a knack for picking furniture.

Let’s make something beautiful together, book an appointment to explore your dream project.
Image: Omar Rodriguez @ormphotography

